
Mobomo webinars-now on demand! | learn more.

Development for the Designer

Designers and developers have a symbiotic relationship. While they may have complementing skill-sets, there are plenty of advantages to reaching across the aisle, so to speak. This two-part series discusses how designers and developers can benefit from becoming more familiar with each others skills and I'll offer some advice on how to get familiar with the "other side."

In this first post I'm going to talk about the world of the programmer, and how as a designer, you can start to get comfortable in that world.

The Disconnect

By nature, designers are a visual group of people. They think spatially and are affected by aesthetics to a greater degree than the average person, including most programmers. In many ways this mindset can make learning about computer science somewhat difficult. You don’t really think about pretty colors and shapes when thinking about computer science.

Snuggling up to the command line

To many designers, the command line seems to be a frigid, phlegmatic tool; dispassionate, mechanical and without personality. Despite the seeming lifelessness of the tool, we can't argue against the sheer power of the command line. Working from the command line doesn’t have to hurt, and in many ways can be much more productive than using a GUI. Since many designers use a Mac, we will focus on BASH commands (used by Unix, Apple’s underlying operating system).

Learn how your system is actually constructed

Browse your file structure and learn where directories are located on your machine. Doing this will give you a greater sense of how your system works, as well as what sorts of files might be hidden. Moving files and directories within by the command line can be much faster than using Finder to do so; this is especially true if you know the exact locations of where your files/directories exist. Here is a short list of helpful commands to get you started:

  • Change directory: cd
  • List files in a directory: ls
  • Create a directory: mkdir new_folder
  • Enter a directory: cd new_folder
  • Copy a file or directory: cp /original/file/path new_folder
  • Move a file or directory: mv /original/file/path new_folder

For more advanced commands, and in-depth documentation, I like using this site.

If you have an old computer kicking around that you don't care too much about, it would be a great tinkering box for learning the command line. I’ve been a fan of using the FreeNAS operating system, because you can pretty much install that sucker on any machine. It only needs 256Mb to run, and it is all command line unless you connect to it through your browser.

Programmed to love

As a designer, you have the ability to hold images and ideas in your mind. You know how you want your designs to look and how to work, but your brain starts getting cloudy when developers descend into nerd diatribe, sputtering about things like rake tasks, migrations, loops, classes and so forth. A change in communication might yield a change in perception when describing and discussing the inner workings of your design. Really when you get down to it, programming isn’t far off from one of those Create-Your-Own Adventure books.

Write in pseudo-code

Pseudo-code is just a way of thinking about and documenting the logical aspects of how code works, in laymen’s terms. Let’s say that I want a hover state for a navigation item, but I want an active state for the item when the user is on the page. You could use this pseudo-code to describe that interaction:

If the user rolls over the navigation link, Then make the navigation link turn red.
If the navigation link equals the current page, Then make the navigation link turn blue, Unless the user rolls over the navigation link, Then make the navigation link turn red.

Eventually, this mentality will allow you to start coding on your own and can help you understand the code written by the developers that you work with. If you want to start building tests like you hear all of those Ruby programmers talking about, look into Cucumber. You are able to write out tests much like you would write pseudo-code.

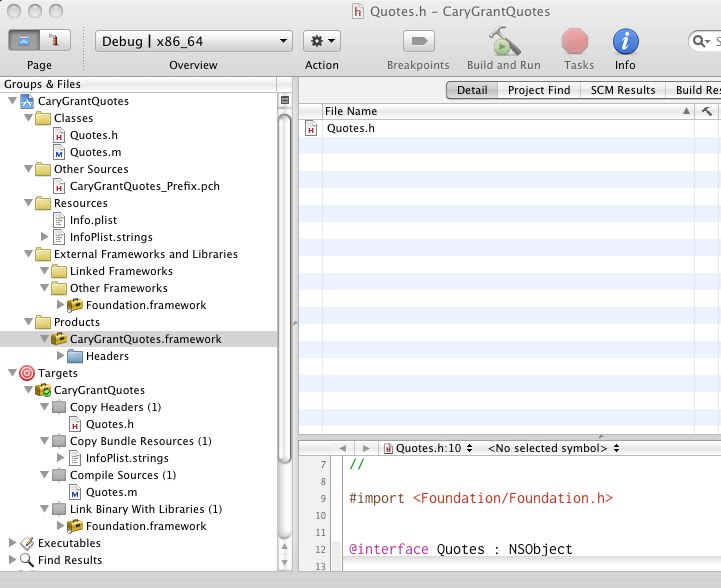
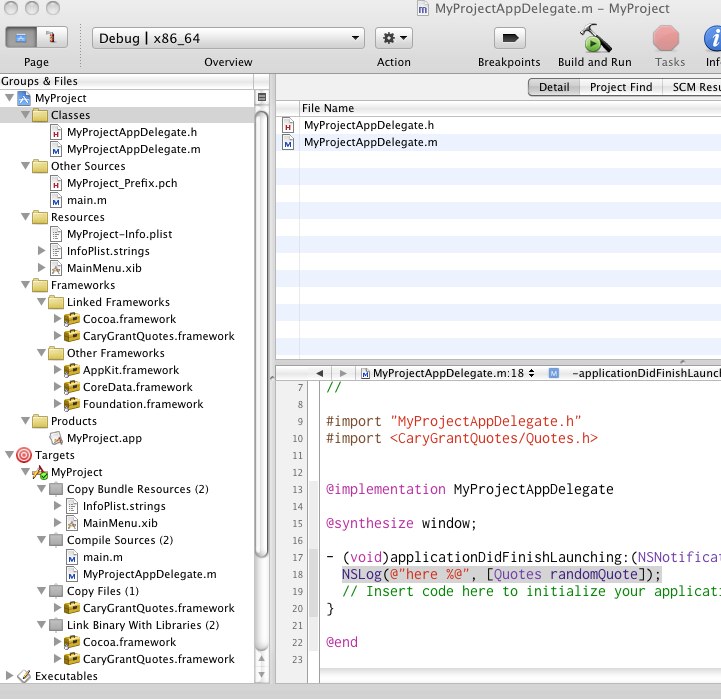
Drop your WYSIWYG and pick up an IDE

At some point you will have to face it; in order to do real development you have to write out code. There are programs that help with code completion and syntax coloring, in fact all of the good ones do. I would recommend picking up TextMate or RubyMine. TextMate takes up much less RAM, but doesn’t have all of the extensive assistance that RubyMine does.

Tutorials and Community

Aside from a few disgruntled developers, the majority of the programming/development community are some of the best people that you can come across. Asking questions in forums is a great way to get going, just make sure you know the topic doesn’t already exist. Most programmers are so excited about the work that they're doing, that they don't hesitate to make time to help new programmers. If you want to learn Ruby (and you do), check out these great resources to help you get started:

If all of this is still too advanced and you want to learn more about basic programming using a GUI interface, check out Scratch! While it may be marketed as software for kids, many entry-level college courses also use it to teach programming fundamentals.

You'll be a better designer for it

Although learning just for the sake of learning is valuable enough, there's something in it for you directly as a designer. Crossing the bridge that spans the divide between quirky, artsy designer and pragmatic, intellectual programmer is a big step. But you'll find that you have more in common than you may have guessed. As an artist, you think abstractly. You bring color, texture, and form to reality. A programmer also thinks with great abstraction. How else could they take your artistic vision and breathe life into it with a bunch of alien commands that abstract back to 0's and 1's? Programmers are all at once both incredibly logical and conceptual thinkers. Learning to program can be an intimidating process, but you'll be able to approach your design patterns and process with greater clarity and confidence, equipped with a more thorough understanding of the entire process. Daring to step out of your comfort zone will give you perspective.

"Perspective is necessary. Otherwise there are only two dimensions. Otherwise you live with your face squashed against a wall, everything a huge foreground, of details, close-ups, hairs, the weave of the bed-sheet, the molecules of the face." ~ Margaret Atwood (The Handmaid's Tale)

Categories
Author

From the Framework Programming Guide

  • Frameworks group related, but separate, resources together. This grouping makes it easier to install, uninstall, and locate those resources.
  • Frameworks can include a wider variety of resource types than libraries. For example, a framework can include any relevant header files and documentation.
  • Multiple versions of a framework can be included in the same bundle. This makes it possible to be backward compatible with older programs.
  • Only one copy of a framework’s read-only resources reside physically in-memory at any given time, regardless of how many processes are using those resources. This sharing of resources reduces the memory footprint of the system and helps improve performance.

Now that we've got a handle on what frameworks are let's set about building one. Open up Xcode and create a new project. We'll use the "Cocoa Framework" template which can be found under the "Mac OSX" group.

Our framework will return a random Cary Grant movie quote so we're going to name it "CaryGrantQuotes". This framework will have only one method which is defined in Quotes.m. Since it's such a simple framework, we can remove all of the frameworks listed under "Linked Frameworks" and "Other Frameworks" save for Foundation.framework.

Next, expand the "Targets" group located in the sidebar and expand "CaryGrantQuotes". Drag Foundation.framework to the group labeled "Link Binary With Libraries".

Header files are important because they tell an application what methods they can access. Headers that will not be directly accessible can be marked as "Project" but any header files that can be imported by an application need to be set to "Public". Since our project has only one header file, we'll need to set it to "Public". Under the group labeled "Copy Headers", right-click on the header files, select "Set role" ? "Public".

We'll need to modify our build settings so that the framework can be loaded properly by the enclosing application. Without getting into the gritty details of Xcode-specific environment details, the only ones you need to know about for getting this to work are @rpath and @loader_path. These will expand with the framework being loaded to point to the location on disk where the framework is located relative to the binary. Right-click on the CaryGrantQuotes item under "Targets" and select "Get Info". Adjust your settings to match those shown below.

Project settings

Your CaryGrantQuotes project should now match the image below.

Sidebar visual

Let's quickly build a Mac OSX application to embed our new framework in. We'll call it "MyProject" and all it will do is output a random quote to the debug console.

In the root of the newly-created MyProject directory, create a directory called "Frameworks" and open that directory using Finder. Tab back to the CaryGrantQuotes project in Xcode and build it.

Underneath the "Products" group, there should now be a "CaryGrantQuotes.framework" item listed. Right-click on that item and select "Reveal in Finder". Drag the newly-created framework into "MyProject/Frameworks" as shown in the image below.

Drag frameworks directory

We still have a few more tasks to perform before we can use this awesome new functionality. Under "MyProject", expand the "Frameworks" ? "Linked Frameworks" groups. Right-click on "Linked Frameworks", select "Add" ? "Existing Framework". This will take a few seconds to load as by default Mac OSX apps recursively search for all frameworks.

Since we are using our own framework, click on "Add Other…" on the bottom of the dialog, browse to the "MyProject/Frameworks" directory and select "CaryGrantQuotes.framework".

Next, expand "Targets" and right-click on "MyProject", select "Add" ? "New Build Phase" ? "New Copy Files Build Phase". Select "Frameworks" from the dropdown and close the dialog.

Now drag CaryGrantQuotes.framework from the "Linked Frameworks" group into this newly-created group which should be labeled "Copy Files". Then take this same group and drag it to a spot above "Link Binary With Libraries" (which should now contain the CaryGrantQuotes.framework item too).

MyProject sidebar visual

Nearly there! Now we need to let "MyProject" know where it can find this new framework. We do that by modifying the "Runtime search paths" value which will expand into @rpath when the binary is built.

MyProject rpath setting

Now all that remains is to add #import <CaryGrantQuotes/Quotes.h> to the top of MyProjectAppDelegate.m and we can use it how we see fit. To output a random quote to the debug console, stick this statement in applicationDidFinishLaunching:.

NSLog(@"Quote: %@", [Quotes randomQuote]);

Your debug console should now output a random Cary Grant movie quote, quite a useful feature. If, however, you receive the dreaded "Library not loaded; image not found" error, I suggest you get familiar with the command-line utility otool. Run the following command from the root of the "MyProjects" directory.

otool -l Frameworks/CaryGrantQuotes.framework/CaryGrantQuotes

The -l option shows you what libraries the framework is linked to as well as the path settings. The value of name under LC_ID_DYLIB should be @rpath/CaryGrantQuotes.framework/Versions/A/CaryGrantQuotes.

The entirety of the CaryGrantQuotes project can be found on github. Additional links and resources on embedding your own framework are listed below.

Categories
Author

This month, I started teaching at the Washington, DC campus of Boston University's Center for Digital Imaging Arts.

Specifically, I am introducing aspiring web designers to HTML forms, JavaScript, PHP and MySQL — the technologies that will make their websites do something.

The consequences of techies not understanding design are humorously well-documented.

Less well-known, though, is the equally unfortunate phenomenon of web designers who don't understand the underlying technologies that make websites possible. It may not receive the same mockery, but I know I am not the only engineer who is frustrated when designers hand off a Photoshop file, instead of HTML/CSS.

CDIA believes this sort of cross-training should be part of every designer's education, and I wholeheartedly agree. Here's a partial list of why web designers really should know how to code:

  • Curiosity: The first reason is probably the most obvious — education is, in and of itself, a worthwhile endeavor. Software development requires a certain mindset and will teach you to approach problems from a new angle.
  • Communication: A great deal of the perpetual conflict between designers and developers can be attributed to a communications problem: the two groups often don't "speak the same language." By understanding web technologies, you will be better equipped to understand what your techie colleagues are saying, and more able to communicate your needs to them.
  • Respect: "Wait ... you're a designer, and you know how to hack?" Rest assured that engineers will feel more confident you understand their concerns.
  • Self-Reliance: Often, it's quicker (and cheaper) to do some things yourself. Adding a "contact us" form to your website shouldn't entail hiring a software developer.
  • Career: It's important to differentiate yourself from your peers, especially in a down economy. By being a designer with scripting skills, you will stand out from the rest of the pack.

And, who knows? Maybe one of the students will be inspired enough to change their focus from design to development. (Hey, a man can dream!)

So, when offered the opportunity to teach web designers some client- and server-side scripting, I jumped at it.

And I'm similarly excited for the upcoming training Intridea will offer in 2009. Stay tuned.

Categories
Author

Try as I might to avoid it, there comes the inevitable point in a project when I have to start doing browser compatibility. Plenty of people use VMWare Fusion or Parallels to run Windows and OS X side by side, but I find them both slow and unreliable when it comes to real testing scenarios, which leaves me with the necessity of creating a Windows development stack for Rails. After some considerable looking, I’ve settled on what I consider to be the “best” tools for the job – though they still fall short of the OS X equivalents.

  • Ruby/Rails: I use the full recommended Ruby distribution as opposed to InstantRails or similar to provide maximum flexibility and customization. I also use the MySQL Community Server for the database portion of my development stack.
  • Version Control: TortoiseSVN is a very easy to use SVN front-end, but my fingers have long since learned the console commands and continue to crave them, so I use the Apache 2.0 binaries for Windows to allow me to use SVN from the prompt.
  • Console: An absolutely indispensable application for me is Console. This open-source app provides tabbed command prompts in a much prettier interface with a number of other incredibly useful features. I highly recommend it.
  • Editor: This isn’t a slam dunk, but the closest thing to TextMate in Windows is, well, the app that was created to be TextMate for Windows. E Text Editor is very good (though in my opinion still too buggy to be called a 1.0) and comes the closest to approximating my Mac development environment. The heavier IDEs such as NetBeans and Aptana With RadRails are also viable options, but I like the speed and simplicity of E.
  • Debugging: Since the reason I end up in Windows in the first place is usually IE compatibility, I need tools to approximate the incomparable FireBug. For markup inspection, the most-helpful-least-hurtful I’ve found is Microsoft’s own Internet Explorer Developer Toolbar. Javascript debugging, the most heinous of all tasks, is made much less painful by the Microsoft Script Debugger. Don’t let the “Windows NT 4.0 and later” fool you, this is the most useful thing I’ve managed to find to get some kind of control over IE Javascript debugging.

These aren’t by any means the only tools available, and your needs/mileage may vary, but after finally getting this stack together I can develop in Windows without going into fits of hyperventilation and frustration. If you have your own indispensable tools for Rails development in Windows, I’d love to hear about them!

Categories
Author
Subscribe to Development