
Mobomo webinars-now on demand! | learn more.

design-tools

As a mobile app development company, we pride ourselves in our design and implementation of our big ideas. We are constantly trying to push boundaries where we can, and strive to full potential.

Ideas can be like white noise if you don’t listen hard enough or rather if you do not communicate them in way that stands out. Sometimes you just have to grab hold and buckle up to make it happen. That's exactly what I did.

TL;DR

Discovered opportunity for a tool to draw on a whiteboard wall so I took the initiative, and went about iterating designs and prototypes and created what is now called Mobomo’s BIG Stencil.

The Problem

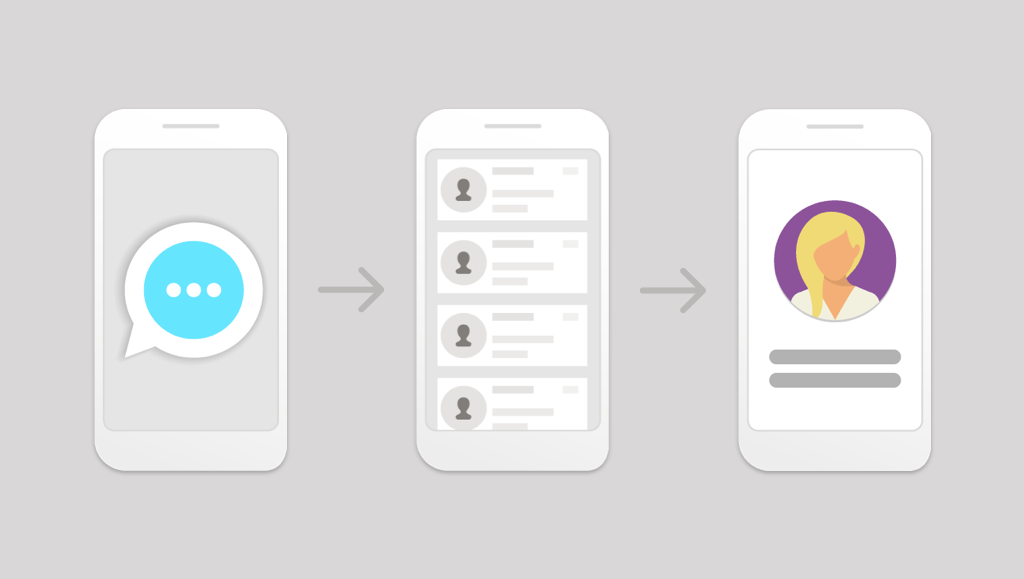
Mobomo project managers are often needed during the user experience and user interface process when starting a new project. There are plenty of creative tools available, but we don’t necessarily have a complete process or set of tools available to streamline the workflow in this area.

We have a large writable wall surface in our office and it has this nice coating to allow whiteboard markers to work with them… AND they still erase. They work great for collaborative sessions at any point during our UX/UI process, the wall is highly visible, can be rapidly iterated with, can be left up for long periods of time as reference or input, and most importantly provides a little insight into our collective thought process. We often utilize this wall-space to iterate on IA, user-flows, wireframes, and initial designs. It is a fantastic way to write your ideas together as a group, and sometimes we leave designs up for others to view and contemplate and provide feedback or input. We also work with clients in rapid ideation and iteration. However, there is one particular issue I encountered, despite years of experience with pen+paper and digital design, my whiteboard drawing skills are still awful. Not sure what is about those dry-erase markers...

What I’ve found is that I am horrible at drawing free-hand geometry with a dry-erase marker. No, seriously it’s bad. Consequently I was finding all sorts of items around the office to assist my creations: paper plates and coffee mugs for circles, boxes for straight edges, and business cards for rectangles as just some examples. What I wouldn’t do for a big stencil!

I was thinking.. What if we had a big stencil to assist us in rapidly producing these ideas on this large surface? Could it aid me in producing wireframes I’m not embarrassed to display or show to a client? This brought me to searching around for one that we could use. There are several useful products related from a few nice companies, but nothing that I felt really embodied what I had in mind. I decided at that point that if I wasn’t going to find what I needed, I would design and make it myself.

I started with basic elements, sizing, and geometry all related to mobile interfaces. Adding in every element and icon to be included in a mobile design: everything under the sun. It was a mess… This is where I encountered my next set of hurdles: too many specialized elements that were targeting the incorrect end goal. The goal was to have a tool to aid in initial wire framing and ideation, not high fidelity mockups. One of my favorite design quotes touches on this:

“...perfection is finally attained not when there is no longer anything to add, but when there is no longer anything to take away…” (Terre des Hommes, 1939, translation by Lewis Galantière).

So I started weeding out the unnecessary, while trying to keep the essentials. Comparing what was designed to comparative tools on the market, while also running the design by peers to get their input. I would love to say it was super methodical and loads of user interviews/tests were conducted, but that is not the case; at the time it was for my own professional use for as soon as I could get it made. This design became the first prototype of The BIG Stencil. It was awesome! Others finally understood the vision, and the general sentiment was that we were on to something.

design-tools

The next steps were a series of design iterations based on prototype user feedback from everyone actively using it for various purposes. What they liked, thoughts on what could be included, and ideas about how to simplify. We also managed to physically break it in a couple areas (hang it on the wall to keep it safe?! Whaaat? Crazy talk…), leading to specifying different physical requirements as well. The result was The BIG Stencil - V1. It is more refined, sturdy, and hopefully dynamically useful to be used during our design process. 

Creating a tool which simplifies the problem by combining the existing process and creating a common communication and design medium can often be a challenge. The resulting content is not constrained by the tool, but rather is enhanced in its simplified communication of underlying ideas and intentions; it provides readily available structure and elements allowing the user to focus more on the ideation rather than focusing on creating legible geometry.

design-tools

This final product is called The BIG Stencil and it is a specialized tool to make large whiteboard wire framing possible. It is a multi-purpose stencil that summarizes elements, geometry, and real-world constraints that we, as digital media creators work within. This tool allows our BIG ideas to emerge and take off.

I want to continue to improve this tool, hoping that my experiences and client interactions will make this tool a project manager's dream.

Categories
Author

rapid-app-ux-prototyping-development

Establishing Need

For the purposes of this post we will be focusing on a new native mobile app development project.

At the beginning of many projects, the customer often is looking for a new user experience (UX) for their application, but often truly don’t know exactly what they may be looking for. That’s why there are many tools and processes utilized in combination during what we often call the kickoff phase of a new project. These include, but certainly not limited to:

All of these tools and processes help the product owner and engineers establish direction for UX and UI design. From here UX flows, stories, and wireframes are created based on the established needs. Communicating this flow to clients and/or designers, however, can be challenging in some cases. Creating UX flow diagrams, documents stepping through wireframe screens, and manual walkthroughs can be effective, but also at times fall short of truly communicating the experience intended by the team. This is a critical comprehension needed for the long-term success and perceived user happiness with the project.

This is where rapid prototyping can assist.

Purpose

The ability to actively see and engage with a mock application can potentially be invaluable. Think of it like a window into the future of the application that a user can engage. Rapid prototyping provides several benefits to the communication and comprehension of a designed application UX. This engagement can provide solutions to questions not even discovered yet or equally uncover weaknesses and strengths of the design.

The experience of creating the links or interactions between the screens and elements following the designed UX flow can also be an exploratory session for the designer/engineer. It can help clear up issues such as form fatigue, menu fatigue, form handling, menus buried, etc. The value of this exercise can be invaluable in time-savings and quality assurance of the UX.

Tools Utilized

There are a plethora of tools available out there in the world of design for wireframing, design, and prototyping. For this post we’ll focus on two of these tools.

Sketchup 3

Sketchup is a powerful design application for Mac OS. It offers a host of streamlined features supporting initial wireframe development all the way through hi-fidelity design mockups. Honestly Sketchup is a whole topic in itself so we will just hone in on the features applicable to image creation.

InvisionApp

Invision is a simple, straightforward web-based prototyping application that has a free option for anyone to use. The interface is clean, well-organized with drag and drop features to create and navigate rapid prototypes. These prototypes can be simple or complex in their animations and organization. The important features here include:

Content Creation

To create screens for a prototype, simply select an artboard from the left hand menu in the interface. Once highlighted, export options are available from the right interface menu at the bottom to export as a single PNG. This will create a screen to be used in the prototype.

A prototype in Invision can also now utilize overlays and elements. This means that things like menus, dropdowns, overlays, help bubbles, etc. can be utilized in the prototype to enhance and communicate the UX. To create an element in Sketch, all layers need be organized into a group. Highlighting the group, the user can follow the same steps above in creating a PNG, or other format, image to be used in the prototype.

Once all screens and elements have been exported into a folder, they can then be uploaded into InvisionApp.

Prototype Setup

Once Invision has been accessed, the user can create a new project. For this post again we’ll be focusing on a mobile platform. From here the user can then import images by drag-and-drop into Invision. Organize the order of the screens however designed and click on the first to begin editing.

Tutorials are available in Invision on how to create interface interactions, where they link to or their function, and transitions desired between all of these screens/elements. The complexity or simplicity of this UX being created in the prototype really depends on the current stage of the project and fidelity of the intended experience. For early prototypes we like to focus on simple transitions to not distract from the UX flow. Rapid prototypes are now possible in a short amount of time.

Once the prototype is established and reviewed by the team, it can then be shared with the intended user(s), whether stakeholders, designers, and/or product owner.

Utilization

Invision provides a very useful feature set with a link to the prototype. For mobile, the link is prompted to be saved to the user’s dashboard as a mock app. This allows the user to open the prototype as the UX of the application intends in most cases. From here the app prototype will respond to input from the user, who now has a functioning UX/UI combination at their fingertips.

The user then has a window into the actual flow of the application being designed.

Summary

Categories
Author

body_image_a


It’s been a little while since our last post, but none the less I’m back and ready to talk about the third portion of Forming A Design Team. We covered Structure, and Process so far, and with this post we’ll talk about the tools that will enable you and your team to excel. To me, tools can be sorted into three categories, Wireframing, Interface, and Prototyping, and we’ll cover each one and it associated apps.

I think it’s important point out that not each of these tools will work for every team, and you may already have your tool set established, which is awesome! These are the tools that we have started to use at Mobomo and so far they’re working very well for us...but who knows what the new year will bring. New tools and programs come out every month, so this list could be updated to reflect better ways of working. Below are the categories I mentioned previously, with the tools associated with them.

WIREFRAMEING

INTERFACE

PROTOTYPING


Like I said before, these might not necessarily work for your team and some are bound to change or be updated, but for the moment they are working they have proven to be great for us. It should also be noted that not every tool is right for every job, so make sure when deciding which program to use you let the project dictate that and not your feelings toward it.

Categories
Author

When trying to find a solution for cleaning Rich Text pasting into a textarea, we needed to find a way to detect pastes and trigger an event based on said action. Internet Explorer and Safari both have an onpaste event that allows you to hook javascript into a paste event, but Firefox does not allow this.

After a little Googling, I didn’t really come across much of a solution so I decided to roll my own.

  function checkForPaste(event) {     var e = event.element();     if ((e.previousValue && e.value.length > e.previousValue.length + 1) ||         (!e.previousValue && e.value.length > 1)) {        if (e.onpaste) {         e.onpaste(e)       } else if (e.readAttribute("onpaste")) {         eval(e.readAttribute("onpaste"));       }     }       e.previousValue = e.value;   }        function firefoxOnPaste() {     $$('textarea').each(function(e) {        if (e.onpaste || e.readAttribute("onpaste")) {         Event.observe(e,'input',checkForPaste);       }     });   }      if (Prototype.Browser.Gecko) {     document.observe('dom:loaded', firefoxOnPaste);   }

This snippet of code will automatically detect if an onpaste has been either added to a textarea’s attribute list (e.g. <textarea onpaste='alert("Pasted!")/>) or set programmatically. It will then automatically simulate paste detection using the oninput event and trigger the onpaste code when it believes a paste has been made.

The snippet will detect correctly for all pasting I’ve tried, including selecting a chunk and pasting a replacement. The only major caveat I’ve seen thus far is that the first input change after the page load will register as a paste if the textarea’s value has already been set. In any case, I thought it was a relatively straightforward way to solve the problem.

Categories
Author
1
Subscribe to Prototype