 As designers we know that our work is successful when it is not only beautiful but also when it is useful. That’s why when working we should always keep in mind other individuals that might need to access our design files - which means... stay organized! Our files should be structured and organized for easy access. In the end it doesn’t matter which software you are using but for the purpose of this article I will use Photoshop as an example so I’ll mention PSD files and smart objects. We have outline some basic design etiquette rules that should help you to avoid issues when someone like a developer is trying to access your files.
File Handling
It is that time on the project when you have set aside a day or two to organize the files you’ve been working on so they are organized for the asset handoff (most times to the developer). So the first rule is to always have everything accessible and uploaded - set yourself a reminder for the end of the day to remind yourself to upload the latest to your file folder. Let’s start by saying that organizing files for asset handoff shouldn’t be that tedious and hopefully everything is in the cloud server where you and your colleagues saved it and that no one forgot to upload the last piece they were working on. As designers we work with project managers, developers, and clients during the course of the project - as we all know everyone tends to work differently and may be particular about file organization. The folder structure you use is mostly a personal preference especially when working alone but when others are involved it can be helpful to collaborate to find out if there are expectations of the folder structure. During this initial collaboration we find it helpful to discuss pros, cons, ideas as to how everyone expects it to work. Make sure you, as a designer communicate to the team to let them know how you’ll manage the files - and make sure to listen to feedback when deciding on naming conventions and exporting assets. 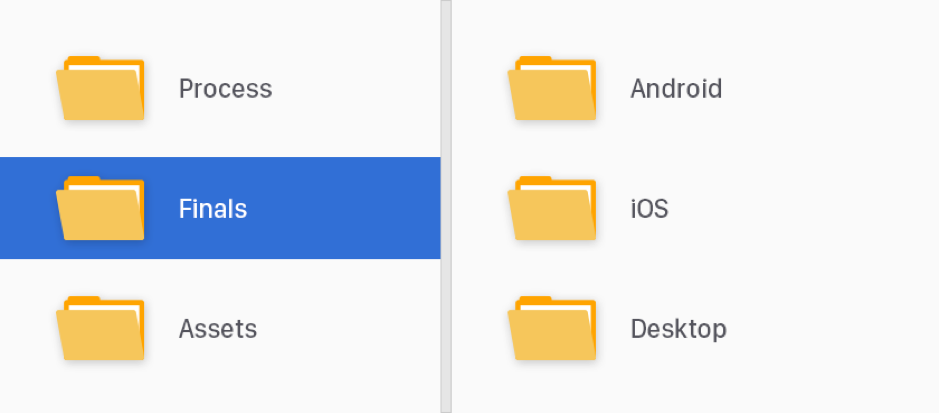
File Naming
Choose a convention and stick to it. When working on a project, decide early on how you’ll name your files and folders. Pick an order for the folders, use dashes or underscores (not both) and never use spaces and decide on using uppercase or lowercase. You should talk with the developers and learn what makes more sense, for example, when working on Android it’s recommended to use underscores. For some, dashes work better than underscores because it’s easier and quicker to edit the name of the file, improves the readability and if it is an exported asset dashes are recommended for SEO optimization. 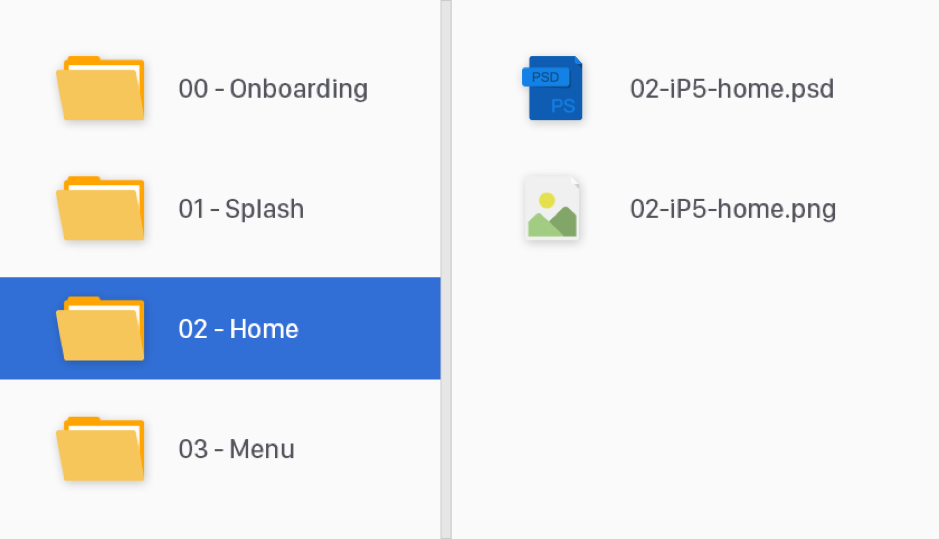
Layers
Always name your layers. It can be a group or an individual layer, no one should waste time hiding and unhiding layers to know if that shape “Rectangle 3” is the one you need to export. The last thing you want is to have to go back, rename and delete those unused or dated layers when preparing a file for a client or for a teammate. Don’t be a layer hoarder, there are many useful scripts and plugins that can help you with this task. It’s recommended to arrange everything by section, header, body, aside, footer, etc. It will make it easier to navigate the contents - before closing that file, collapse all layers, so the next person that opens it, can see the structure at first glance. Be smart, use non-destructive edits when working on images, that means use smart objects and masks, and don’t apply the same to 10 different layers optimize your workflow, group them and use just one mask if possible. Globalize common elements, use linked smart objects either to a .psb file or use CC libraries, and symbols in Sketch. Use blend modes carefully and know your strokes - it’s not the same effect if it goes outside, inside or centered. Tip*** be aware of the light source when using blending modes, you want to have a consistent light source it will make the components more realistic. 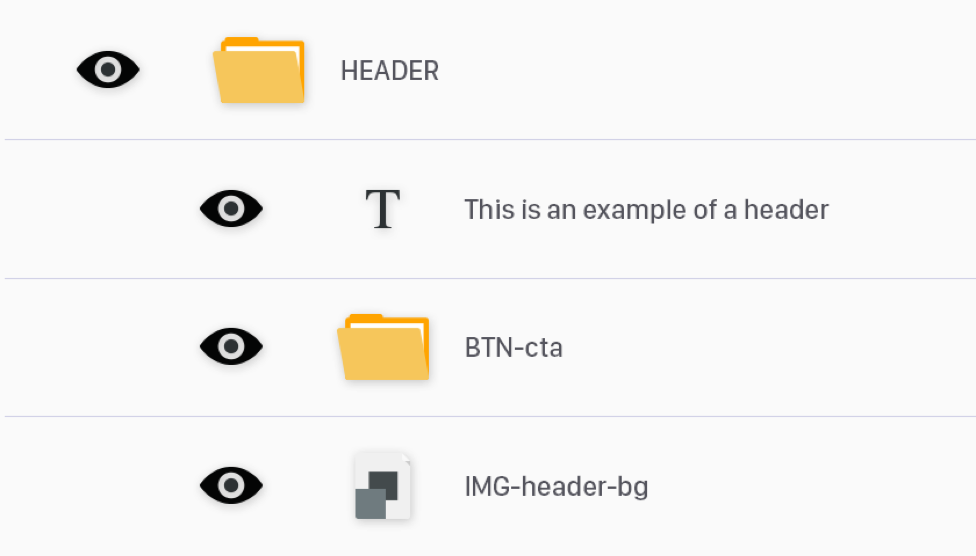
Icons and Images
When working on icons, it’s best if you use a shape instead of bitmap or a smart object for a vector file can work as well. The reason being- a bitmap does not scale correctly so you will not get the proper pixelation which leads to poor visual quality. Try not to color them using blend modes, people should be able to get hex values from layer properties and that will make it faster to edit the color as well. When working with images such as stock photos make sure you purchase them especially if the product is ready for production.
Type
Use text-boxes when you’re writing a paragraph and make sure the box is not longer than the actual text. It can make it difficult to select things that are behind it and can lead into frustration and then it becomes a waste of time. Make sure you use proper alignments, headings and lists elements should have their own text-box. Use CC libraries character styles to maintain consistency. Be sure to include all the fonts used in your project that are (or should be) in the assets folder especially when using licensed fonts. These folders should be in the same directory as your design files.
Assets and exporting
Be aware of screen resolution and density. Your images should be optimized either for web, print or wherever your files will be used. When working with web images, they tend to be much larger in size, so image optimization should be a priority. This will allow for faster loading on a desktop, and remove the data concern from mobile users loading an image heavy site. There is online image optimization software but you should know how to get the best image from Photoshop. It is important to keep in mind that 80% of file quality will look closely to the same image at a 100% but the file size will be considerably smaller. As a designer, it is key to keep your files organized. This was only a short list of recommendations - be detail oriented. As mentioned before, it takes discipline but it will make everything faster and easier in the long run for you and others.
Other sources that we found valuable for a second opinion of design organization are: https://www.smashingmagazine.com/2011/08/the-lost-art-of-design-etiquette/ https://www.photoshopetiquette.com


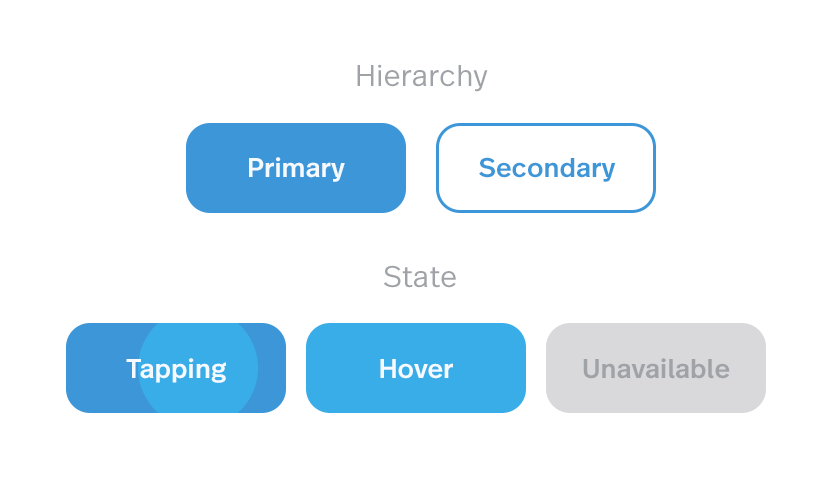 If the button has a strong color accent on the screen, its place as a CTA (call to action) is evident. As seen in the figure above it is possible to have style variations for secondary actions that we don’t want to emphasize, as well as disabled actions (as long as there is something the user can do to enable them). It’s important that the “air” around the word is enough for the element to be recognized as a button, but not that much for it to end up being a huge color patch on the screen (which starts to defeat the original purpose of playing along with content). We can see in figure 2 below that by using the exact same style but minimizing the margins around the word the element loses its button purpose. If it is used that way the call to action still poses an actionable property, maybe as a selectable item with on/off states or an item that is draggable:
  Other buttons that are flat with no words may be useful for some situations even if they are less evident for the user. The trick for those is to have an action related to their context and visually be in the correct position. We can see in the next image below that the same round element can play different roles depending on its placement in relation to the content on the page. Google’s
 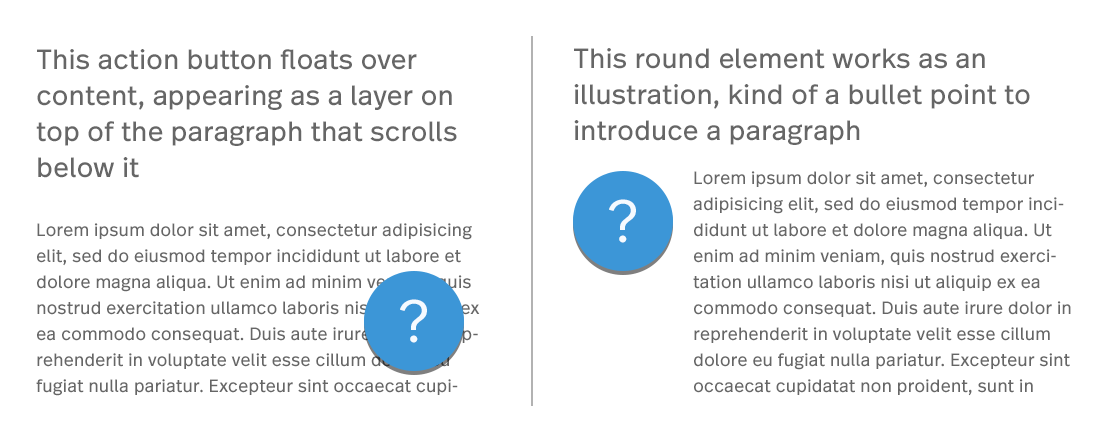 Icons have a similar two-face behavior. They can either be an active element to interact with and perform an action or an illustration supporting and decorating a message resulting in no user interaction whatsoever.
  Back to my original point, context is everything - once the context is in place, the user experience typically follows as to what action you should or should not take. Through users' past experience with navigating different digital platforms the user will quickly identify the icons on the top and bottom borders of the screen are a means of navigation. Normally icons over a certain size that are placed just above or to the left of a paragraph serve as an illustration element. Other positions and size ratios invite the user to interact as it becomes apparent they represent actions related to the piece of information that precedes. While not always depicted in color, we can see here the contrast color helps to distinguish them as something actionable:
  Tabs, fields and dropdowns pose less trouble- they do have a similar style because they have been a part of UIs for a long time. Their typology is strongly installed in users minds however, fields are the most striped down ones of the group, sometimes styled in a really minimalist manner. For example, imagine a line acting as a row with a label above it mentioning the expected input. A rule of thumb for fields is that the labels should be aligned to the left since we type and read from left to right so the text input is prepared for the content it expects. That would be one of the main aspects that help reveal their function because as we can see in the following deliberately inflated examples the line dividing one type of element from the other can be very thin, coming all down to type style and alignment:
  Flat design is the standard today, but as technology evolves devices transform and new type of design interactions are needed. Due to graphic resolutions and computing power growing higher each product generation we are seeing subtle but powerful graphic effects starting to get into the mix. There’s always a learning curve for users, but as designers we should at the very least not stand in their way!
 What is DevOps?
 Mobile apps have become such an ubiquitous item that it seems everyone imaginable has one, literally everyone… even Barilla pasta has an ‘iPasta” mobile app. The question is what sets mobile apps apart from the OK from the GOOD from the GREAT?